Articles
Contractor Essentials: Large-Format Tile Installation Done Right
Clients expect modern looks, quicker turnarounds, and long-lasting results, and large-format tile is at the center of that demand.
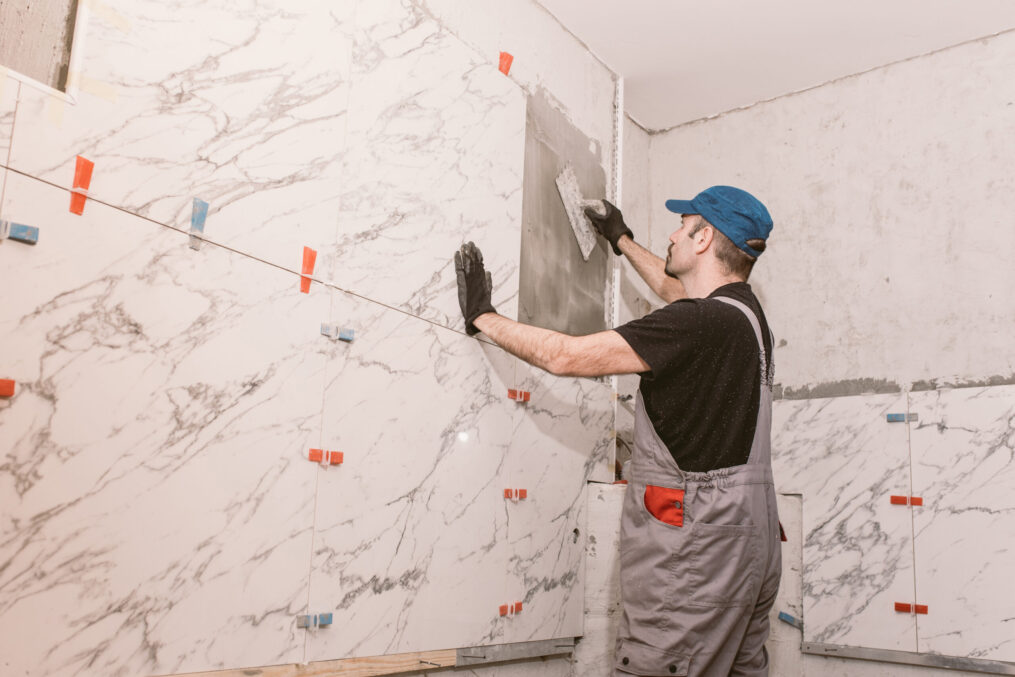
Contractors know that staying sharp on product shifts is half the battle. Clients expect modern looks, quicker turnarounds, and long-lasting results, and large-format tile is at the center of that demand. These tiles aren’t just bigger; they change the way you plan, prep, and install. If you approach them like standard tile, you’ll run into lippage, cracks, or callbacks you don’t have time for.
That’s why we built this contractor essentials guide: to give you the must-know information, tools, and products that will keep you ahead of the curve, and help you deliver installs that stand the test of time.
Why Large-Format Tile Matters
Large-format tile, often 24×48 inches or larger, is no longer a specialty product. It’s what designers and homeowners want in kitchens, bathrooms, lobbies, and beyond. The clean, minimal grout lines open a space and deliver a high-end look that’s hard to beat.
But here’s the essential contractor truth: these tiles demand more from you. Handling, cutting, bonding, and leveling are all different from standard tile. Knowing that up front is the first step toward staying profitable and keeping projects on schedule.
Mortar That Works as Hard as You Do
Traditional thinset isn’t built for large and heavy tile. For these installs, you need mortars designed for the added weight and size:
- Mapei Keraflex Super – nonsag, nonslump, with strong adhesion and longer open times.
- Bostik BAM – flexible, lightweight, and designed specifically for large and heavy tiles.
Both give you the strength and workability you need to avoid cracking, shifting, or wasted re-installs.
Leveling Systems – Clips and wedges keep tiles aligned and cut down on lippage.Our go to option is Mapei Ultraplan 1 Plus, a quick-setting, self-leveling, self-drying underlayment and repair mix for interior concrete and engineer-approved floors.
Trowels – Go bigger on notch size for proper coverage. Back-buttering isn’t optional—it’s essential. We have a number of these in-stock, but one we love is
Cutting Equipment – Invest in strong wet saws or score-and-snap systems designed to handle wide cuts cleanly.
The Step You Can’t Skip
Large-format tile highlights every imperfection in your substrate. A 1/16-inch dip under a small tile might go unnoticed. Under a 48-inch tile? It shows. Always check flatness with a straightedge before you start. Use a self-leveling underlayment if needed, it’s faster than trying to correct issues tile by tile.
Hamilton Parker’s Contractor Commitment
We know how quickly the industry moves, and we make sure you have what you need to keep up:
- Stocked inventory of the right mortars, grouts, tools, and accessories.
- Training and support so you and your crews stay aligned with Tile Council of North America (TCNA) standards.
- Partnership with manufacturers so you always get up-to-date products and guidance.
At Hamilton Parker, we understand that staying ahead of these trends is crucial for providing our customers with the best possible service. That’s why we invest in ongoing training for our staff and for our industry partners, and maintain a comprehensive inventory of the latest tools and setting materials. We’re committed to helping you navigate the ever-changing landscape of the tile industry and ensure a successful installation, no matter the size or style of your project. We’re here to help you make your dream tile installation a reality, with the right products and the right knowledge.

